Manchester
Learn the basics of framing with
Nick in Manchester
High wycombe
Learn the basics of framing with
Linette in High Wycombe
Every year since as early as I can remember I have spent my summers in Scotland, scaling mountains and swimming in rivers. My favourite place has always been Glen Coe in the west highlands where even to this day I still visit and never climb the same route twice.
Once, while visiting Fort William I stumbled across a 3D map in a shop window which showed the entire area in a 3D format. I instantly fell in love with the map and quickly purchased it. The only problem was it needed a new frame, the prior owner had put a simple wooden frame around with no glass or mounts and it wasn’t working for me. If it was going to be a new centre piece in my home then it would need to show off its best qualities.

After planning how I was going to frame this awkward but beautiful piece I decided to go for a simple white frame that drew you into the centre of the map. This type of frame is normally higher on the outer edge and lower closer to the frame(also known as a Spoon or scoop profile).
I also wanted to add in a double mount as I always believe this can add another dimension to your artwork by helping pick out colours or areas you want to highlight. This is best represented by having a neutral top mount colour like White/offwhite and for the bottom mount you can be much bolder and pick a strong colour like Deep blue or grasmere green.
There’s two things I take into account:
On this project the Green forests were a great feature and as the artwork was about the outdoors it seemed only appropriate that green would be the perfect colour for the bottom of the double mount.

Realising that I had no framing equipment I decided to order all of the materials cut to size through All About Framing. I did decide to buy a mount cutter for other work I have though. Here is how I ordered things:
Moulding 1&2: Chop & router service
Mountboard: I purchased a Logan mount cutter 350 to cut this mount board.( buy online)
Glass: Glass cutting service (email in)
Foamcore: Buy as a sheet of adhesive 5mm foam core (buy online)
Layon: Buy as a sheet of mountboard (buy online)
Backing board: buy as a sheet of Kraft backing board (buy online)
In order to hold this flimsy 3D map I had to create a solid base so I stuck it down onto an adhesive sheet of foam core, and then attached the foamcore to a backing board using a dab of glue in each corner. I then placed this inside a Tray frame(L shaped moulding) and used a dab of glue again, in the corners of the backing board so it would stick in the tray frame. Which looked something like this:

Then I proceeded to frame over the top of this. The image below should explain this a little better.

In normal circumstances I would have built a box but this Tray frame was the perfect size so it worked on this occasion. To connect the main frame to the tray frame I used bendable fixing plates and finished off by adding strap hangers to the main moulding so it can be hung.

List of materials required for this project:
Moulding 1(Main): 473000127
Moulding 2(bottom): 511000127
Mountboard: Top mount – Minuet 2.4mm (SSS008627) | bottom mount – Grasmere Green 1.4mm (SSS008616)
Glass: 2mm Low Reflection Invisible Glass 914 x 1220mm (SA0013LG)
Foamcore: 5mm adhesive Foamcore (SB0001NK)
Layon: Any white sheet of mount board Minuet 1.4mm (SSS008627)
Backing board: Kraft Board – standard sheet (SA0010AA)
Fixings: Strap Hangers (HE0010MA)
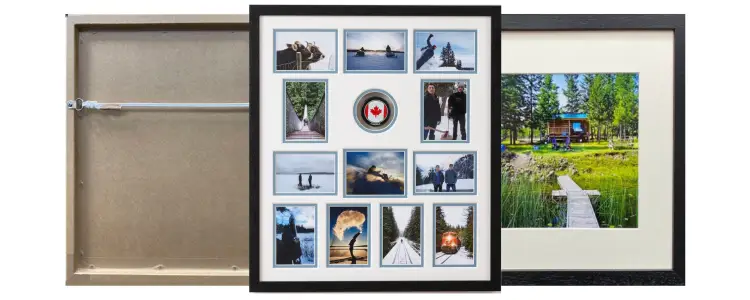
If you want to learn more about framing then we highly recommend attending one of our weekend courses which will give you the knowledge to be able to frame projects like this.
We run our courses on multiple dates every year in both High Wycombe and Manchester

Learn to make your own frames for photos and artwork with our beginners framing course.
Learn how to:
Impress your friends and family with your handmade frames.
Our picture framing course will teach you everything you need to know to create frames that are both functional and stylish.
To start creating your own DIY frames!
Learn to make your own frames and explore the creative presentation and displaying techniques available when mounting a picture.
Everything from the Basics course PLUS learn about:
Elevate your artwork and photos with custom frames.
Learn how to design and build frames that perfectly complement your artwork, creating a truly unique and personal display.
To start creating beautiful, professional frames!